Virtual Machines on Fedora 17 with Open vSwitch
My previous blog post showed you how to setup Open vSwitch (including LACP port-channels) on your Fedora 17 host. Once you have this working, creating virtual machines and adding them to one of your Open vSwitch bridges is the next logical step. For this setup, we will make use of libvirt to manage our virtual machines. We’ll utilize virt-manager (a GUI) and virsh (a CLI) to manage the VMs on the host. But the VMs themselves, once running on Fedora with libvirt and KVM, can easily be migrated into an oVirt setup, for instance. Perhaps a later post will detail how to go about the process of importing them into oVirt.
The Setup⌗
I’ll be using a single host running Fedora 17 for this example. The host is running Open vSwitch for virtual networking as well. To make things a bit more complicated, I’ll also convert a virtual machine from a VMW vmdk format into a libvirt format. This will at least show a partial migration path from VMW hosted virtual machines to Fedora+KVM hosted virtual machines.
Make sure you have the appropriate software installed on your Fedora host. For this, the below command should get you going:
Now, make sure libvirt is started, and also starts at system boot time:
The Process⌗
The first step is to migrate your disk format. For this, I created a directory for my virtual machines (/home/images), and a subdirectory under there for my test virtual machine (fedora17). I copied my existing VMware virtual machine over in that directory, and it looks like this:
The next step is to convert this image into a format which libvirt will understand. I will utilize qemu-img for this, executing the command as below:
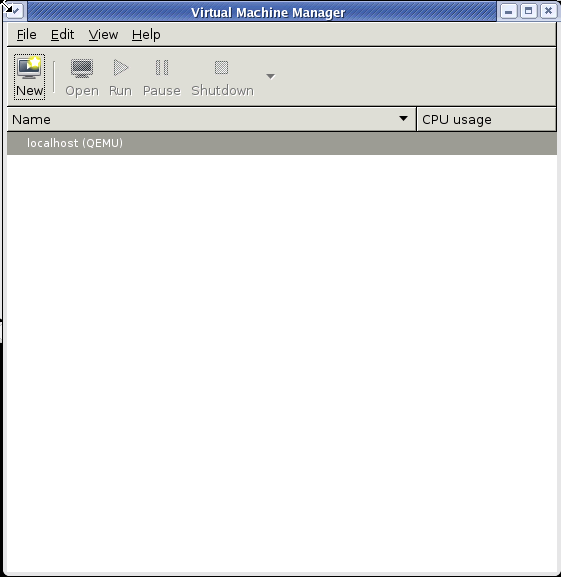
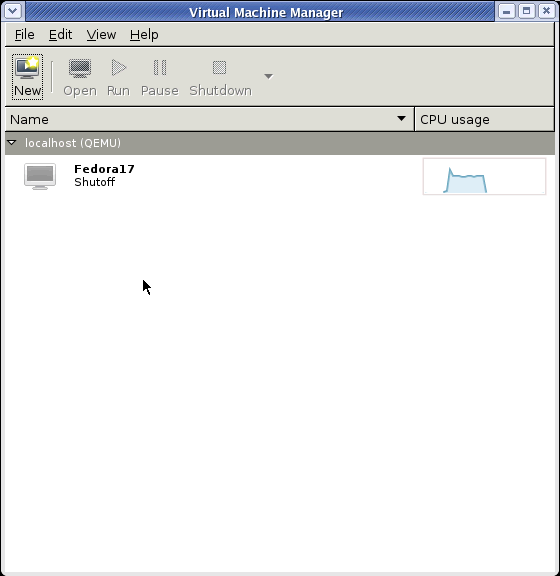
qemu-img has a lot of options, but the above will perform a basic conversion. The end result is we now have an image suitable for import into libvirt. At this point, we can bring up virt-manager and create our virtual machine. Once you start virt-manager, you should see a simple image like below:
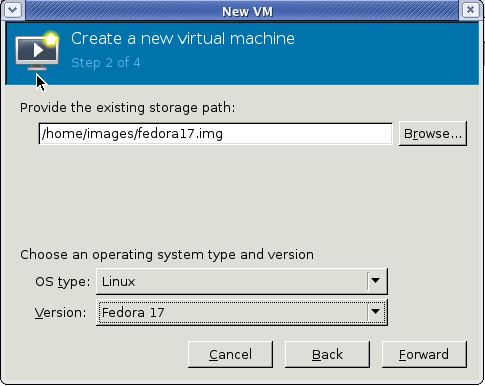
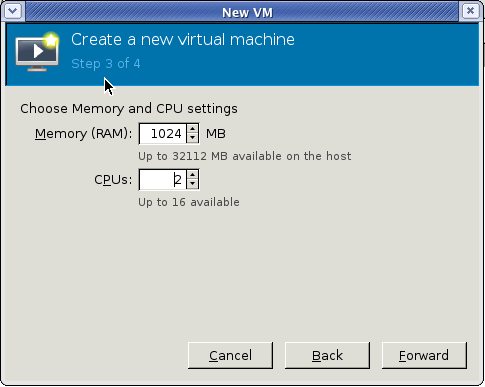
We can now start the process of adding our virtual machine. Below are screen shots which show the process.

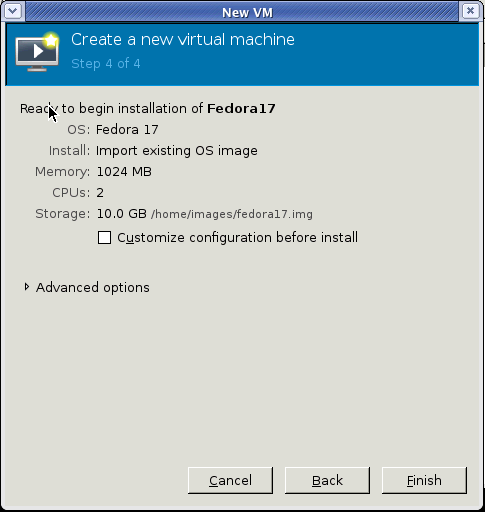
At this point, your VM will show up in virt-manager:
Virtual Machine Networking⌗
The next step is to configure the virtual machine networking. We want to utilize libvirt’s integration with Open vSwitch for this next part, so we’ll utilize virsh (the CLI) to do this. Fire up virsh now in another window:
We will want to list the virtual machines, and then edit the XML definition for the virtual machine we just created with virt-manager.
Now run the “edit” command, passing the VM name from above. We will want to scroll down to the networking section, which will look something like the below:

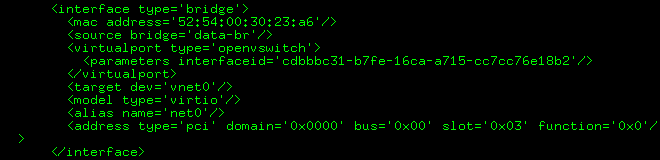
Change it to look like the below, substituting the name of your OVS bridge for “source bridge” below:

Once you complete this, you will notice if you do a “dumpxml ” that libvirt has automatically added an interfaceid to the parameter section of the virtualport section of the XML. See the picture below.
At this point, your VM should be all set to fire up and utilize Open vSwitch for virtual networking.
Caveats⌗
There are a few issues with the above. For one, libvirt only allows setting of 2 parameters in the “virtualport” section of the XML: interfaceid and profileid. This means you cannot set a VLAN tag, for instance. However, what this does mean is that by utilizing a profileid, you could take advantage of having all your configuration tied to the profile. This is how advanced networking technologies such as 802.1QBh work.
Conclusion⌗
Hopefully you now have your virtual machine up and running with a combination of Fedora, libvirt, KVM, and Open vSwitch. Future posts will likely show you how to integrate the above with oVirt for a nice, datacenter virtualization management solution which is fully open source.